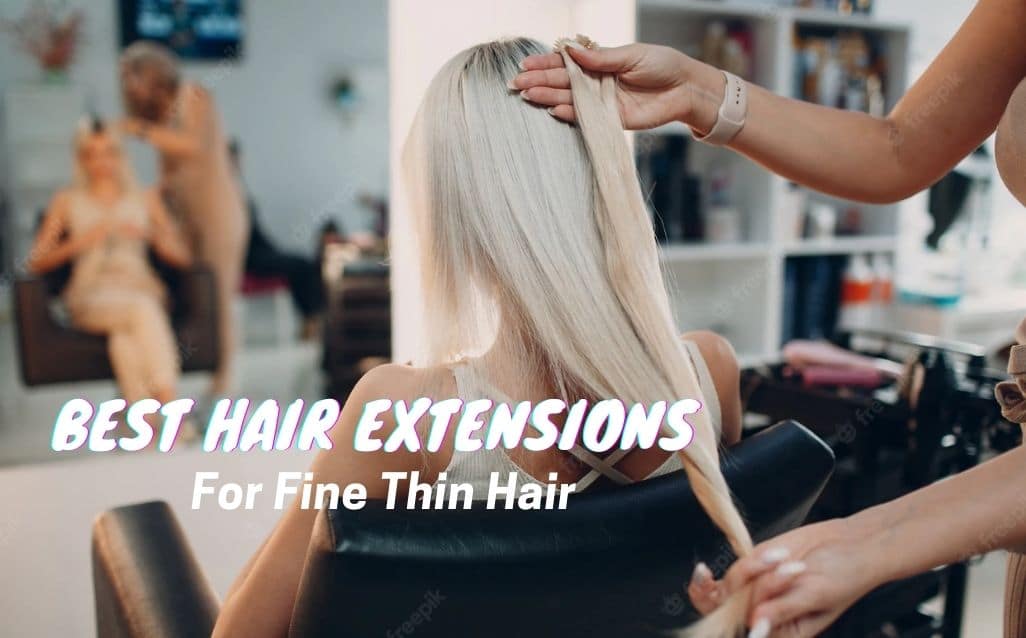
Hair extensions are an express route to instant length and volume. But did you know that over half of hair extension lovers wear tape-in hair extensions? Why? Because tape-ins check all the boxes for top-quality hair extensions: they’re lightweight, flat, sleek, easy to apply, and budget-friendly.
However, proper care for tape in extensions is key to extending their lifespan. Without proper care, the extensions would easily become frizzy and shed. Nobody wants that! After installing tape-ins for your clients, remember to show them how to take care of them, so the extensions will prolong their glamor.
In this post, you’ll find a treasure trove of tape in hair extensions tips and tricks. Consider this your ultimate guide, and preach it to your clients when they visit your salon next time for installation or maintenance.
What Are Tape In Hair Extensions?
What are tape-in hair extensions?
Tape in extensions are tiny bunches of human or synthetic hair, each with a slim tape strip attached at the root. These tape strips attach to the wearer’s natural hair, making the hair look longer and more voluminous.
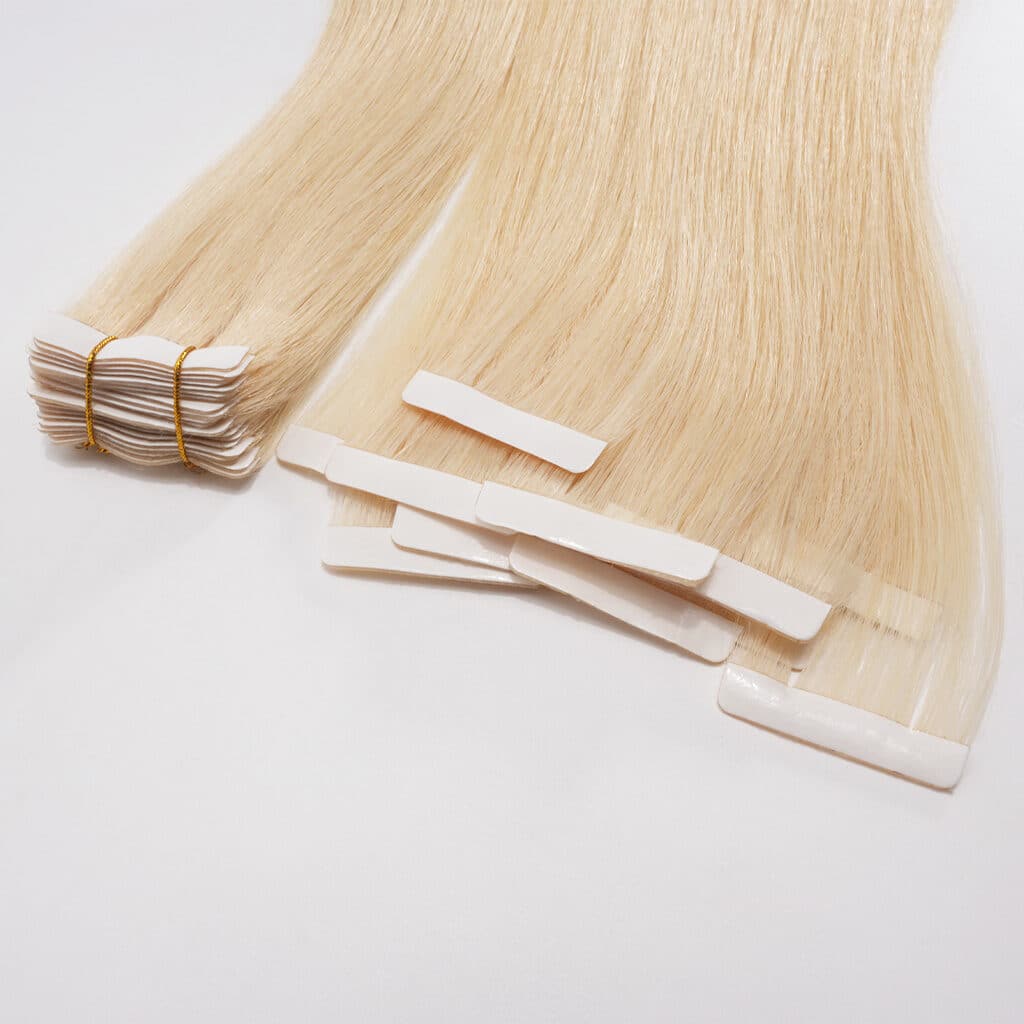
Tape-in extension tapes are thin and lightweight. When applied, the extension hair effortlessly melds with the wearer’s natural hair, creating a seamless, authentic look.
How Long Do Tape In Extensions Last?
When talking about the longevity of hair extensions, we mean their lifespan. It’s from when the set of hair extensions is attached to the natural hair to when it can’t be used anymore and must be thrown away. But the tape in extensions must be removed and maintained, and their tapes must be replaced and reattached every 6–8 weeks.
How long do tape in extensions last? The commonest answer is that tape-in extensions usually last 4-6 months. However, the exact lifespan of tape-in hair extensions mainly depends on hair quality. For example, all hair extensions by New Times Hair are made of quality Remy human hair, which may last up to 2 years with proper care.
That’s why appropriate maintenance and care for tape in extensions are essential. The better the wearer looks after them, the longer they will last, maximizing their lifespan.
Dos And Don’ts for Tape In Extensions
Time for a quick takeaway! Check out this snappy list of tape-in hair extensions do’s and don’ts. These nuggets come straight from the collective wisdom of tape-in aficionados – consider it a cheat sheet for both you and your client!
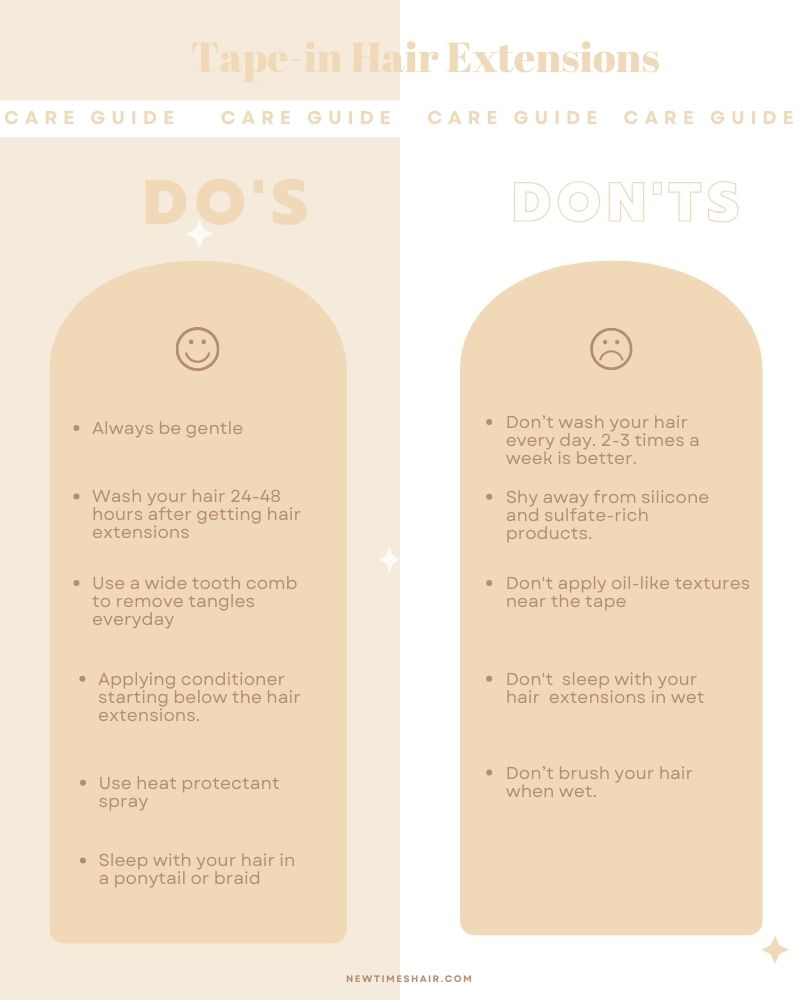
DOs:
- Always be gentle.
- Wash your hair 24-48 hours after getting hair extensions
- Use a wide tooth comb to remove tangles everyday
- Applying conditioner starting below the hair extensions.
- Use heat protectant spray
- Sleep with your hair in a ponytail or braid
DON’Ts:
- Don’t wash your hair every day. 2-3 times a week is better.
- Shy away from silicone and sulfate-rich products.
- Don’t apply oil-like textures near the tape
- Don’t sleep with your hair extensions in wet
- Don’t brush your hair when wet
➤Proper Care for Tape in Extensions: Preps Before Installation
Our path to tape in perfect starts with a wash! Yes, a wash or the natural hair, NOT the extension hair. The wearer’s natural hair needs a proper wash before she comes to the salon. It is the first step to ensure a successful installation, so the tape-ins may last longer.
After your client has made an appointment, bade her wash her her hair before she comes, and ask her to stick to the tips below. However, you can also wash her hair before installation. When you do, also consider these tips as a reference:
Tip 1: Use Proper Shampoo
Paul Mitchell Shampoo is an ideal option. It’ll effectively remove oil and dirt buildup. Treat washing-hair a reset button, setting the scene for those tape-ins to shine.

Tip 2: Dry the Hair Properly
After washing, dry the hair as thoroughly as possible. Properly dried natural hair will allow for a firm grip, and the tape may last longer, too. Suppose there’s still oil buildup or conditioners remaining in the natural hair. In that case, the extension tape may slip earlier than necessary, damaging the natural hair.
Tip 3: Detangling the Natural Hair
Detangle the natural hair, and make sure it’s all good for installation. You never want to tape an extension to a tangled bunch of hair. As later it will be difficult to comb or brush. And the bond be loose, too.
Tip 4: No Conditioners!
When washing her hair for tape-in installations, never use conditioner. You don’t want the hair to be too slippery for installation!
Tip 5: Button-Down or Loose-fitting Shirt!
While not all stylists or hair experts consider clothing, it’s a savvy move to keep in mind. Bade your client to wear a button-down shirt or a loose-fitting top when heading to your appointment. This choice guarantees smooth movement without any unwanted friction against her freshly installed tape-ins. Remember, friction could cause damage or even slippage.
➤Proper Care for Tape in Extensions: Tips for Ideal Installation
Proper installation of tape-ins can also contribute to prolonging their lifespan. You likely have a better grasp of tape-in installation for your clients. However, for those who may not be as familiar, adhering to the following tips will ensure a successful outcome.
Tip 1: Keep the Tape Close to the Roots
When applying tape-ins, make sure the tape is close to the roots. This will avoid pulling, and also give the hair a solid grip.
Tip 2: Sandwich or Single-Sided
There are mainly two ways to attach tape-ins. For thick hair, have two tape-ins to clip her little bunch of natural hair in between. If thinner hair is needed, simply stick a single tape to the hair.
Tip 3: A Firm Press
After attaching the tape, in either a way of sandwiching or single-sided, give it a firm press, starting from center of the tape and work towards the sides.
Watch the video below for reference:
➤Proper Care for Tape In Extensions: Styling Tips
After tape-ins are attached, it’s time to style. Natural hair, extension hair, tape, and scalp—four things we need to be mindful of. Correct styling procedures are also part of proper care for tape-in extensions.

Tip 1. Avoid Too Much Pressure on the Hair
Give your tape-in beauties the VIP treatment they deserve—no tugging or pulling allowed! It’s all about style smarts: go for looks that keep the pressure off those extension bonds (tapes). Let her hair dance, but let the extensions breathe easy.
Tip 2. Brush Gently
When brushing those tape-in extensions, start from the ends and take it slow—no tugging allowed! Opt for a wide-tooth comb or brushes made for hair extensions. Keep that hair love flowing tangle-free!
Tip 3. Use a low-heat setting
When blow-drying or using other hot styling tools on your hair, we recommend using a low heat setting no higher than 300°F (150°C) to avoid damaging extensions and natural tresses. High heat can loosen the bond or cause it to melt. Yikes!
Tip 4. Avoid Heavy-Styling Products
Say no to heavy-duty waxes and gels—they’re the villains in the tale of slipping extensions and loose locks. Go for lightweight styling tools like mousses, sprays, and creams.
Tip 5. Stretchy Hair Ties or Rubbery Hair Clips
Avoid the temptation to yank on those extensions when crafting that envy-inducing ponytail or bun. Instead, reach for the real MVPs—soft, stretchy hair ties and clips that won’t mess with our natural hair or the extension tapes.
➤Proper Care for Tape In Extensions: Brush Often
After attachment and styling, most of the maintenance work and care for tape in extensions is now in the wearer’s hands. Make sure you teach them well before they leave your chair.

1. Comb or Brush Often to Avoid Tangling: Twice a Day!
Tangling and matting will lead to split ends or breakage. For a set of tape in extensions to last longer, we must not leave it to tangle. Daily brushing—morning and night—is a ticket to tangle-free beauty. Keep that extension-friendly brush handy for quick fixes throughout the day. Ready to conquer tangles? Let’s do this, beauties!
2. Motion of Brushing: Tips to the Roots
How do I brush the hair, then? Hold the hair near the root with one hand, brush or comb the area near the tip first with the other hand, and move towards the area near the roots. That’s the secret to nixing any excessive pulling or tugging. This isn’t just about style. It’s about minimizing any stress on their extensions. Let’s brush and slay, superstar!
3. Force of Brushing: Gentleness Is Key!
Gentleness is key. They never want to pull their hair too hard, which may lead to breakage. So, don’t try to force the brush or comb through a tangle or knot, as it will result in loops around the bonds. If the tape breaks from the extension hair, the tape has to be replaced.
4. When to Brush: Never Brush When Wet
When the hair is wet, there’s moisture between the strands, weighing them down, and the bond is looser than in dry hair. Brushing when wet can cause the bonds to loosen up even more. Save the brush for the dry moments when the extensions and hair feel most robust. Blow-dry from roots to ends, or work your magic with a diffuser.
➤Proper Care for Tape In Extensions: Washing Tape Hair Extensions
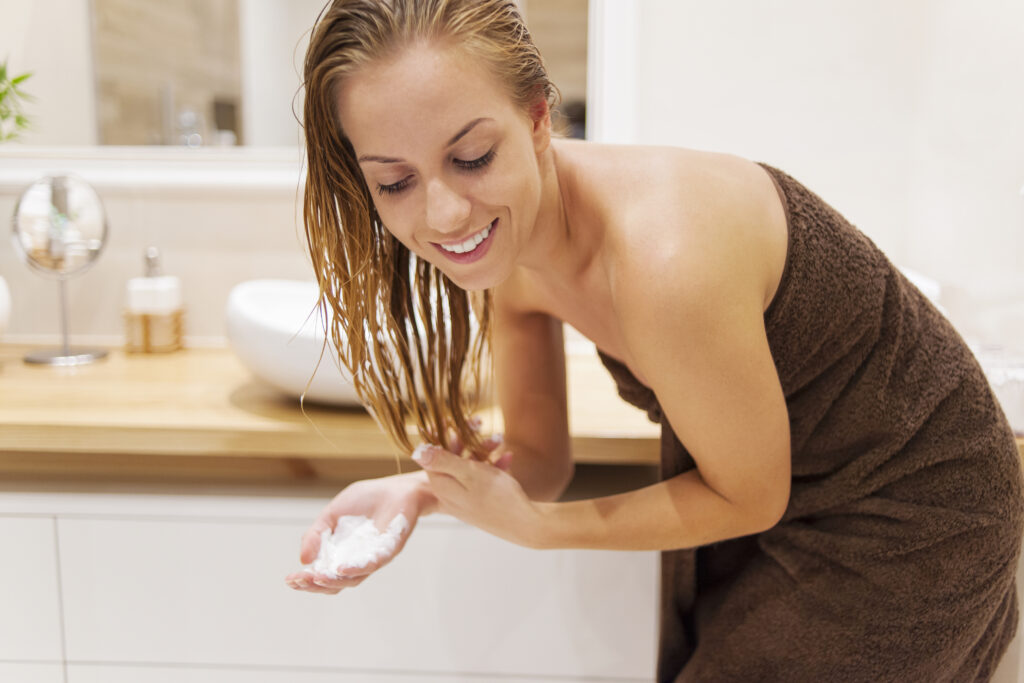
Tip 1: Wash After 48 hours after attachment
This is part of the washing tip. But be mindful when washing tape hair extensions for the first time. Give those new extensions some time to settle in. Hold off washing hair for 48 hours after attachment. This buffer helps prevent any unexpected slippage.
Tip 2: Never Wash Hair Too Often
Often wash your hair and extensions to keep them clean and nourished. However, washing it too often will remove the moisture, leading to breakage, splits, and shedding. This is because unlike natural hair, our body oils and nutrients may not nourish the extensions thoroughly. Washing your tape-in hair extensions with extension shampoo twice a week is ideal. Apply leave-in conditioning, which will keep the hair fab and nourished.
Tip 3: Properly Wash Tape in Hair Extensions Step by Step
When washing them, follow these steps:
Step 1: Get the Correct Shampoo and Hair Products Ready. Never use a shampoo that contains sulfate, paraben, silicone, or alcohol. These ingredients strip away moisture and oils that protect the hair shafts, leading to breakage. Use professional tape in hair extensions shampoo.
Step 2: In the Shower, not Over the Sink. Consider this a golden rule: Stand in the shower for hair washing, not bending over the sink. It might seem speedy to bend the upper body over the sink, but it’ll make the hair tangle easily. Also, remember to brush the hair before getting into the shower.
Step 3: Spray, not Soak. Keep the shower from soaking the extension hair all at once. Gently spray warm water until it’s saturated with water but not soaking wet.
Step 4: Be Gentle When Shampooing. Put shampoo on fingertips and gently massage the hair and scalp. Don’t scrub too hard or pull on the extension hair, as this may loosen the bond or cause the extensions to slip.
Step 5: Rinse Shampoo off. After 2-3 minutes of massaging the hair with shampoo, rinse it with warm water.
Step 6: Conditioning. Lavishly coat the hair’s mid-lengths and ends with sulfate- and silicone-free conditioner, steering clear of roots and tape zones. Spread it evenly with a wide-tooth comb.
Step 7: Rinse the Conditioner off. Let the conditioner stay in the hair for about 5 minutes, and rinse it with warm water.
Step 8: Squeeze Dry. Give those extensions a gentle squeeze to release any extra water, then enlist a trusty microfiber towel to delicately blot and pat them dry. Remember, no rubbing or twisting.
➤Proper Care for Tape In Hair Extensions: Drying after Washing

How to dry tape in extensions after washing: It also takes skill to dry the extension hair to avoid damage and keep it healthy and long-lasting. Make sure you show these steps to your clients.
Step 1: Detangling. Wait patiently until extensions are bone-dry (no water dripping) before easing out the tangles. Grab that wide-tooth comb, be tender, and begin from the tips, moving up.
Step 2: Use a Heat Protectant Spray. Protect the tape-ins with a heat-protectant spray. Spritz it all over, with particular attention to the mid-lengths and ends.
Step 3: Sectioning the Hair. Section all hair into manageable bits using clips or ties. This strategy ensures even drying and a tangle-free finale.
Step 4: Drying. Air drying is preferred to blow-drying. If blow drying is a must, shield the extensions from the heat with a trusty protectant spray and set the blow dryer on low heat. Face the dryer sideways to avoid overheating the hair.
Step 5: Tame the Hair With Final Comb. Tame those tresses. A wide-tooth comb or a soft-bristle brush will work wonders. Start from the end, gradually working your way up for a flawless finish.
➤Proper Care for Tape In Extensions: How To Sleep With Tape In Extensions On
Tape-ins belong to the family of permanent hair extensions. Once attached, your client can’t remove them like halos or clip-ins. They have to sleep with them on. Show them these tips on how to sleep with them.
Tip 1: Detangle Your Hair. Before hitting the bed, give the tape-ins a soft and thorough brush to remove any knots or tangles. This keeps the nighttime tangle fiesta at bay and ensures you wake up with fabulous locks.
Tip 2: Never Sleep with Wet Hair. Steer clear of hitting the sheets with damp hair. Wet hair can spell trouble, weakening those tape attachments. Ensure the hair is dried up, whether through the air or a blow-dry session, before zzz.
Tip 3: Try Using Silk or Satin Pillowcase. Silk or satin pillowcase – tape-ins love it! These fabrics dial down the friction and kick, tangling at the curb. Plus, they treat hair gently, keeping it safe from breakage. Sleep smart, wake up fabulous!
Tip 4: Wear a Low Ponytail or a Satin Cap. Secure extensions with a low ponytail or bun if you’re a nighttime tosser. This trick keeps them in check while you are asleep. To level up your game, slip on a silk or satin cap—a protective cocoon that wards off tangles and locks in moisture.
Tip 5: Sleep on Your Back or Sides. Be careful not to sleep on your extensions, which can cause damage and loosen the tape bonds. To help reduce pressure on the scalp and hairline, try to sleep on your back or sides with a pillow to support your head and neck.
➤Proper Care for Tape In Extensions: How to Replace Tape in Hair Extensions
Before disposing of tape-ins, the tape must be maintained every 6–8 weeks, with the tape removed and replaced. After tape replacement, the tape-ins will reattach to the hair to last the rest of their lifespan. At times you may have to replace tapes for your client. Or you can also show them how to replace them, so they can do it at home.
Tip 1: How to Take Tape in Extensions Out
For smooth tape-in extension removal, whip up a solution with 70% isopropyl alcohol, glycerin, and aloe. In a pinch, rubbing alcohol could do the trick. Or, opt for something emollient to break down the tape. Apply the solution to the extensions and gently massage or wiggle them until they release. You might find some residue; no worries; gently comb through with a pin tail to prevent tangles.
Tip 2: Change the Tape for Tape In Extensions
The tape for tape in extensions is mainly made for tape in hair extensions. New Times Hair only uses chemical-free American white tape for all our tape-in hair extensions. When replacing tape for tape in extensions, follow these steps:
Step 1: Flat a single extension piece on a squeaky, clean surface.
Step 2: Peel off a tape piece from the tape roll sheet or cut the tape from your tape roll to match the extension’s width.
Step 3: Gently place the fresh tape where the old one used to be, keeping the backing sticker intact.
Step 4: Voila! Your extension tapes are retaped and good to go. Keep that sticker on to safeguard the glue until it’s time to pamper your client’s locks with the renewed extensions.
Conclusion
Tape-in extensions offer instant volume and length. Becoming skilled in installation, styling, and care for tape in extensions is vital. Opt for high-quality hair, embrace gentle products, and enhance protection with silk pillowcases to prevent tangling. Following these steps, your client will retain a lasting, captivating look that always stays in style.
Click here to shop for a whole collection of tape in hair extensions:


